What we grow and where to purchase
We sell Blue Oyster, Wine Cap, and Shiitake mushrooms cultivated from our outdoor beds on a seasonal basis. You can purchase our mushrooms at the Tatamagouche Farmers Market and Small Holdings farm in the spring, summer, and early fall wile quantities last.
Mushroom Grow Kits
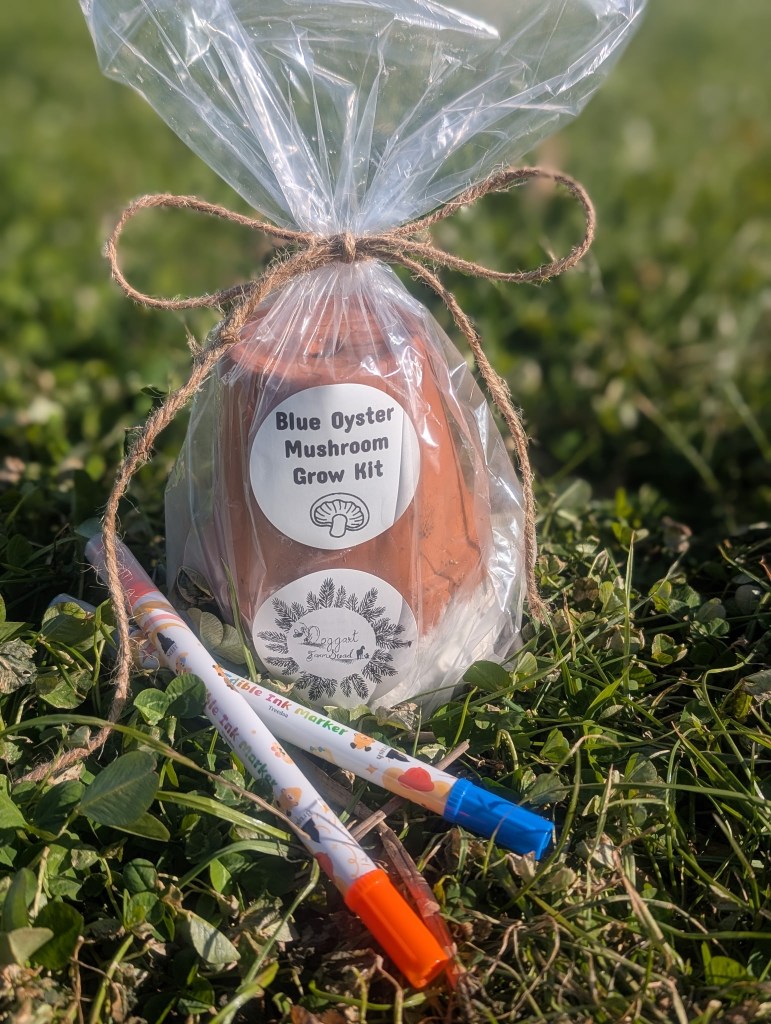
We also build blue oyster grow kits built in decoratable terracotta pots.
Grow kit Instructions
Step 1:
Take your mushroom grow kit out of the bag and place it on a plate (to catch excess water) in an area of your house with indirect natural light and a consistent temperature between 15 and 23 degrees Celsius. Mist the terracotta pot two to three times a day to keep it moist.
Step 2:
Ensure the mycellium has full colonized the substrate. Carefully twist and separate the two terracotta pots. The inside pot has holes which should be fully colonized by white mycellium. If some of the holes appear brown with no white apparent than your kit still needs a lit longer ro collonize. Decorate the outer terra cotta pot using the food-safe decorating pens.
Step 3:
Now that the mycelium has fully grown throughout the substrate, it is now time to encourage your mushrooms to fruit. In nature, mushrooms begin fruiting with a change to their environment usually temperature, humidity, and airflow as the mycelium grows through a substrate towards the fresh air. To create these conditions, you are going to separate the terracotta pots to expose them to air and place them somewhere 5 to 10 degrees colder than the conditions the mushrooms were in earlier; if outdoors is not an option a basement or windowsill with the drapes drawn can be ideal. Ideally, it should still be somewhere with indirect sunlight or only a few hours of morning light. Continue misting the terra cotta 2-3 times a day to keep it moist.
Usually within a few days or as long as a week later, you will see pinning begin. These are small mushroom nodes pokiong through the holes. Once you see several holes start pinning, you can return the grow kit to the warmer temperature range between 15 and 23 degrees Celsius. You will want to continue misting the grow kit during the entire fruiting stage.
Step 4:
Mushrooms will mature remarkably fast, sometimes doubling in size every 24 hours. Depending on the ambient temperature, humidity levels and fresh air exchange rates, mushrooms will be ready to harvest 5-10 days. During this time, it is important to diligently monitor the growth of the mushrooms in order to watch for signs of overmaturity (upturned cap margins), cracked caps margins (insufficient humidity) or long stems and poorly formed caps (too little fresh air / high CO2 levels). Mushrooms are ready to be harvested when the tops of the caps begin to flatten out; simply twist the mushroom body where it connects to the substrate and pull it off, do not worry if some of the substrate comes with the mushrooms it will heal over before the next fruiting. Note if your mushrooms mature a little farther you may see a fine white powder gather around your grow kit; these are mushroom spores. Note the small amounts of spores produced by your kit are not a health risk. Ideally, harvest will happen before spores are produced.
Step 5:
Now that you have successfully harvested your first crop of mushrooms, you can persuade your grow kit to produce yet another flush. Under ideal conditions, it is common for the first crop of mushrooms to be the heaviest and the 2nd and 3rd flush to slowly decrease in weight and volume. This is normal as the nutrients and moisture inside of the substrate begin to decrease after each flush is produced. Although it is highly likely that you will be able to harvest numerous crops, depending on the conditions that your mushroom grow kit is subjected to or how it is handled, these variables will all impact its overall health and subsequent suitability to produce additional flushes of mushrooms. One option is to leave the grow kit in the same exact conditions that you currently have it under. Continue to ensure that the block is exposed to fresh, draft-free air, high humidity, and air circulation. Even under these ideal conditions, the mycelium within the substrate may rest for anywhere from 5-14 days before initiating another flush. Other times, flushes will appear almost right away after the first crop of mushrooms is harvested. These oyster mushroom grow kits are living organisms and therefore can be difficult to predict. Persistence is often the key to success. Other than leaving your grow kit exactly where it is. The second and often faster way is to submerge your grow kit in cold water for several hours. This treatment both hydrates the block and mimics an artificial winter that can induce primordia formation when the block is introduced back into warmer room temperature conditions. Be sure to adequately drain any excess moisture out of the terra cotta pot before returning your grow kit to fruiting conditions.
Step 6:
After your third flush of mushrooms, it is time to provide fresh nutrients and substrate for the mycelium. You can sterilize fresh substrate, mix it with the mycelium from your kit, and create more grow kits. Follow this link for a detailed description of how to sterilize and inoculate fresh substrate. If this seems daunting, you can put the mycelium in a Ziploc bag in the fridge until the ground temperature reaches 10 degrees Celsius. When you’re ready, plant your grow kit in a shaded area in the garden or yard by digging a hole 3 times larger. Place the grow kit in the hole with some damp hardwood chips or straw as substrate. Bury the grow kit and substrate with an inch of soil on top, water periodically during dry weather, and see what happens. Note that this method is not guaranteed to work; you could also be surprised up to a year later when mushrooms pop up when conditions are right.

